Understanding the Threading Needle Challenge
Threading a needle is often perceived as a simple task, but for many, it can be a source of frustration and delay. This seemingly small hurdle can halt a sewing project in its tracks. The difficulty lies in the tiny eye of the needle and the often-uncooperative nature of thread. Several factors contribute to the challenge, and understanding these can significantly improve your threading success rate and speed. Knowing the common pitfalls can transform what was once a struggle into a quick, easy step. Let’s delve into the reasons why threading a needle can be difficult and how to overcome those obstacles.
Why is Threading a Needle Difficult
The primary reason threading a needle is difficult is the small size of the needle’s eye. This minute opening requires precision and often, good eyesight. The thread itself, whether it’s cotton, silk, or synthetic, can be delicate and prone to fraying or splitting, making it even harder to insert into the tiny space. The eye of the needle is frequently too small to accommodate the thread, especially if the thread is thick or has multiple strands. This complexity, combined with the natural tremor of hands or poor lighting, amplifies the difficulty.
Factors Affecting Threading Difficulty

Several factors influence the ease or difficulty of threading a needle. Poor eyesight is a significant factor; the smaller the needle eye and the thinner the thread, the harder it is to see and manipulate. The type of thread used also affects the process. Thicker threads, like embroidery floss, can be more challenging to manage, while thin, delicate threads are prone to fraying. Lighting plays a crucial role; insufficient or poor-quality lighting can strain the eyes and hinder the ability to see the needle’s eye and thread clearly. Furthermore, the needle itself can be a problem if the eye is damaged or too small for the thread.
Essential Tools for Quick Threading
Having the right tools can dramatically simplify the needle-threading process. Several items can make threading needles quicker and less frustrating. These tools assist in managing the thread and guiding it through the needle’s eye efficiently, allowing you to start your project faster and with less strain on your eyes. Using these will help you master threading needles and streamline your sewing experience.
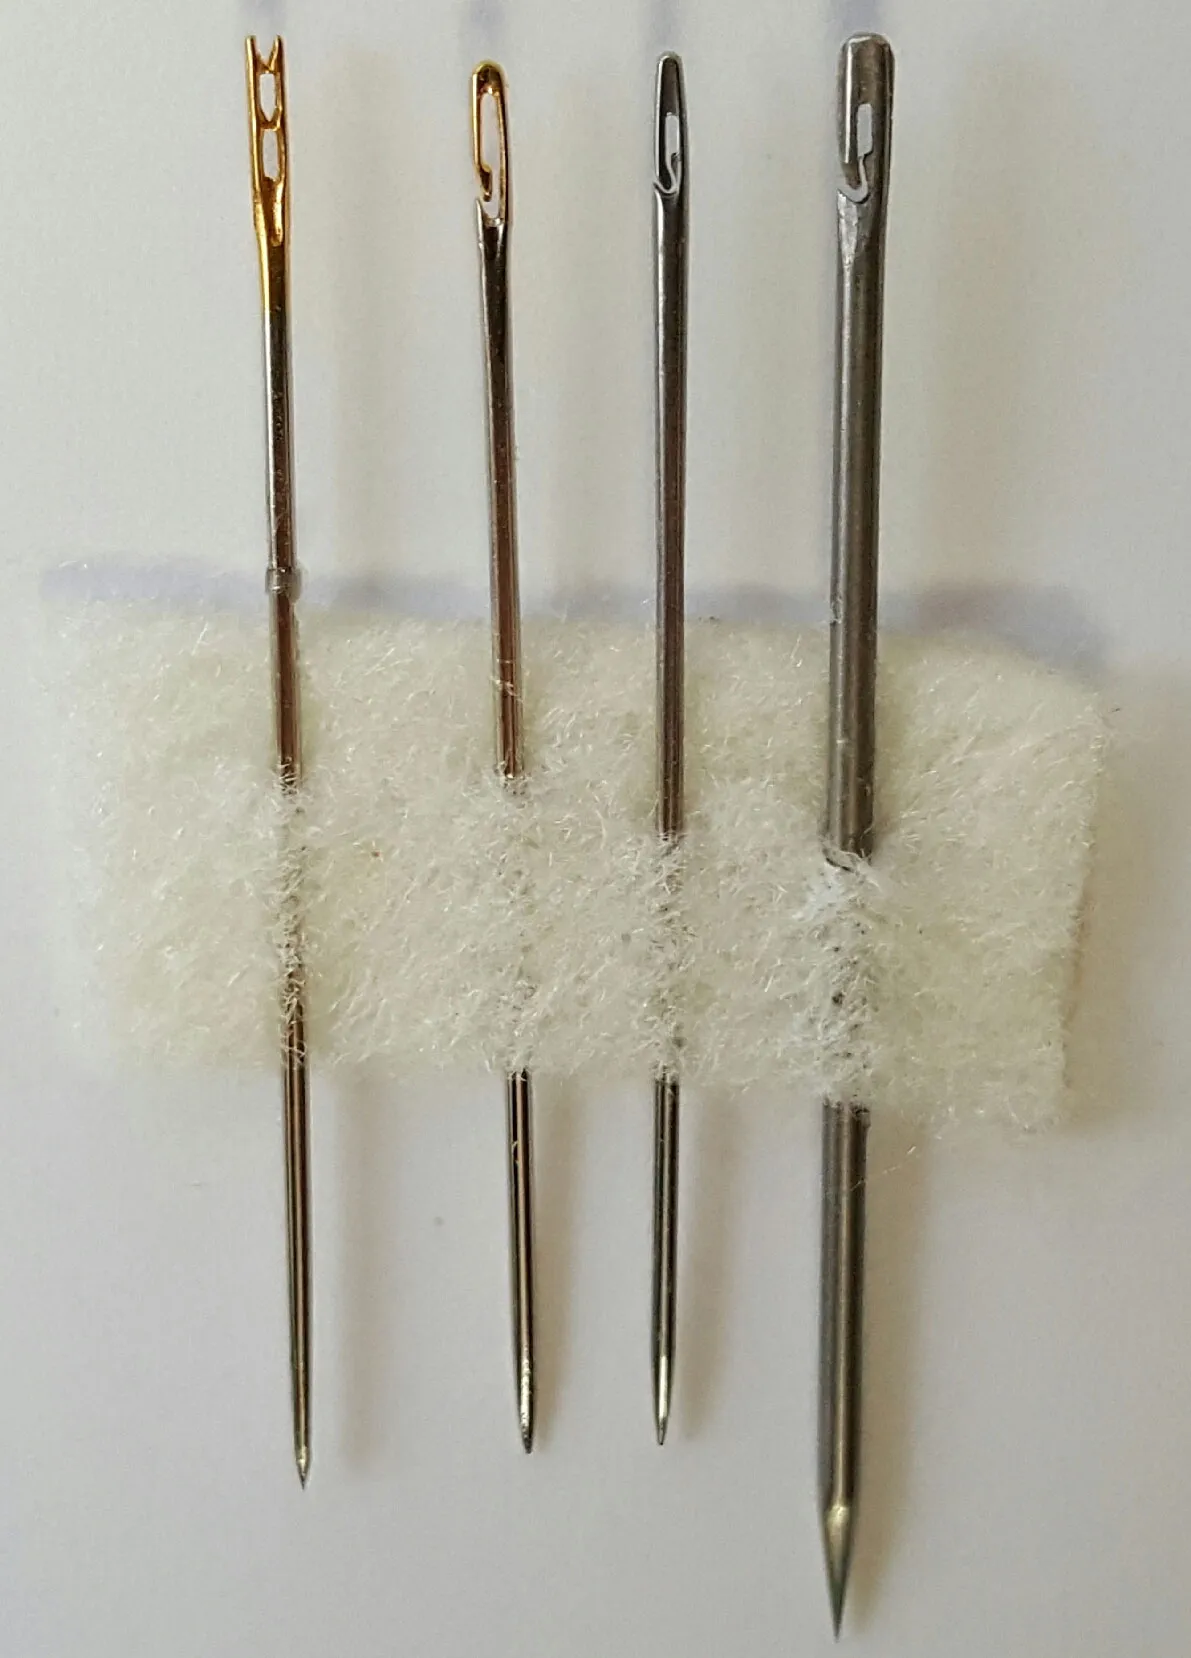
The Needle Itself
The needle itself is a key factor. Choose a needle with an eye that is appropriately sized for the thread you are using. Needles come in various sizes and types, and selecting the correct one can make a significant difference. Consider needles with a larger eye or those designed for specific types of threads, such as self-threading needles. The quality of the needle is also important. High-quality needles are less likely to have burrs or imperfections around the eye, which can snag the thread. Always check the eye for smoothness before you begin.
Choosing the Right Thread

The type of thread can make or break the threading experience. Fine threads, such as silk or very thin cotton, can be difficult to handle. Consider using a thread conditioner to reduce fraying and make the thread more manageable. If you’re struggling, switch to a slightly thicker thread. Experimenting with different types of thread will allow you to find what works best for you. Always consider the project requirements before selecting a thread. The right thread will make it easier to thread the needle.
The Importance of Good Lighting
Good lighting is crucial for threading a needle quickly and efficiently. Work in a well-lit area, preferably with natural light or a bright, focused lamp. Avoid shadows that can obscure the needle’s eye. A magnifying lamp can be particularly helpful for those with vision challenges or for working with very fine threads. Ensure the light source is positioned to illuminate the needle and thread without creating glare. Adequate lighting can significantly reduce eye strain and make the threading process more comfortable.
Step-by-Step Guide to Threading a Needle Quickly
With the right tools and techniques, threading a needle can become a quick and easy task. Several methods can help you thread a needle effectively. This guide breaks down the steps to ensure a smooth and swift experience. By following these simple steps, you will be able to thread needles like a pro.
Preparing the Thread

Before attempting to thread the needle, prepare the thread. Cut the thread cleanly and, if necessary, use a thread conditioner to prevent fraying. For a single strand, cut the thread at an angle to create a sharper point. For double strands, align the thread ends carefully. This preparation helps the thread pass through the needle eye more smoothly and reduces the chances of splitting. Making sure the end is clean will help with the overall process and reduce frustration.
The ‘Fold and Pinch’ Method
The fold-and-pinch method is a simple, effective technique. Fold the thread in half to create a loop and pinch the folded end firmly. Insert the pinched end into the needle’s eye. This method is particularly useful when you want to double the thread. Ensure the fold is neat and the pinched end is compact enough to fit through the eye. This technique works well with various thread types and sizes. It is a quick and easy method, perfect for beginners.
Using a Needle Threader
Needle threaders are invaluable tools, especially for those with poor eyesight or unsteady hands. Insert the wire loop of the threader through the needle’s eye. Pass the thread through the wire loop. Gently pull the threader back through the eye, bringing the thread with it. Ensure the threader is of good quality and that the wire loop is not too thick for the needle eye. Needle threaders are a great way to get the thread through the needle.
The ‘Lick and Push’ Technique

The ’lick and push’ technique involves moistening the end of the thread to stiffen it slightly and make it easier to handle. Lightly lick or moisten the end of the thread. Pinch the thread between your fingers and insert it into the needle’s eye. The slight stickiness and firmness can help guide the thread through the eye. This method works well for various thread types and is often favored by those without a needle threader. Be careful not to over-moisten the thread, as this can make it difficult to work with.
Troubleshooting Common Threading Problems
Even with the best techniques, problems can arise. Troubleshooting common issues can save time and frustration. Knowing how to address these issues will improve your overall sewing experience and make the process much more efficient. Learn how to identify and fix the most frequent problems when threading needles.
Thread Splitting and Fraying
Thread splitting and fraying are common frustrations. To avoid this, cut the thread cleanly and use a thread conditioner. If the thread continues to split, try using a needle with a larger eye or switching to a different thread type. Gently moisten the thread end and pinch it firmly to give it more structure. Make sure you are not pulling the thread with excessive force through the needle eye, as this can cause the thread to separate. By keeping this in mind, you can avoid splitting and fraying issues.
Needle Eye Too Small

If the needle eye is too small, it’s impossible to thread the needle. Try a needle with a larger eye. Needle threaders are a great solution for this issue. If you’re working with a very thick thread, you may need a special needle designed for that thread type. Avoid forcing the thread through the eye, as this can damage the thread and the needle. Choosing the right needle size will help you thread it more easily.
Tips for Threading Success
Threading a needle becomes easier with practice and the right approach. These additional tips will refine your skills, increasing your speed and effectiveness. These helpful hints will significantly improve your threading needle success rate.
Practice Makes Perfect
Threading a needle is a skill that improves with practice. Set aside time to practice threading needles regularly. The more you practice, the faster and more efficient you will become. Experiment with different techniques and thread types to find what works best for you. Don’t get discouraged if it takes a few tries at first. Consistent practice will hone your skills.
Choosing the Right Needle for Your Project

Selecting the correct needle type is crucial. Consider the fabric and the type of thread you will be using. For delicate fabrics, use a fine needle; for thicker fabrics, use a heavier needle. Match the needle size to the thread weight. Using the right needle will make it much easier to thread and will prevent damage to your fabric. By selecting the right needle for the task, your needle threading experience will improve.
Storing Needles and Thread
Proper storage is essential for keeping your needles and thread in good condition. Store needles in a secure place where they cannot be easily lost or damaged. Use a needle case or pin cushion. Keep thread in a dry, clean environment, away from direct sunlight, which can cause it to fade or weaken. Consider using thread organizers to keep threads tidy and accessible. Proper storage will also make finding what you need easier.