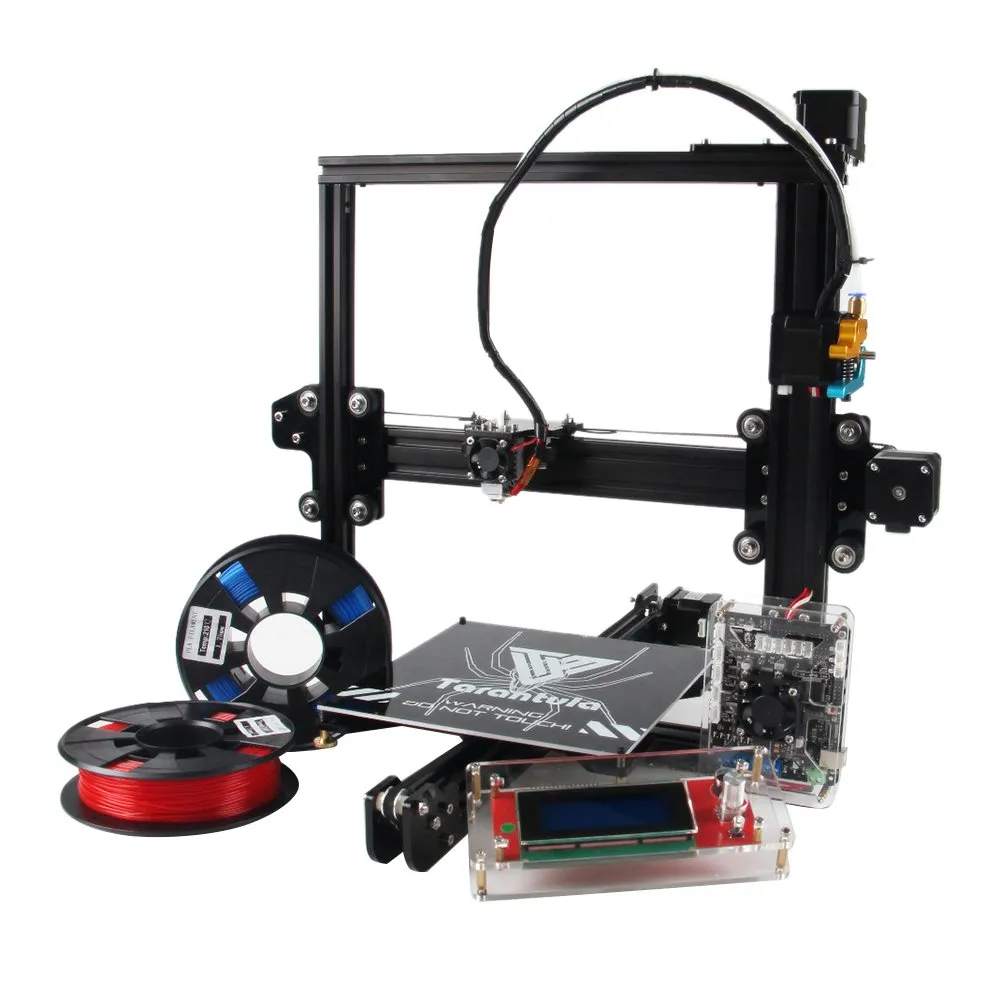
OctoPrint Tevo Tarantula Top 5 Tips
Embarking on the journey of 3D printing with your Tevo Tarantula and OctoPrint can significantly enhance your workflow. OctoPrint, a web interface for controlling and monitoring your 3D printer, offers a plethora of features, from remote control to print progress monitoring, all from the convenience of your web browser. However, setting it up correctly requires careful attention to detail. This guide will provide you with the top 5 essential tips to successfully set up and optimize OctoPrint for your Tevo Tarantula, ensuring a smooth and efficient 3D printing experience. These tips cover everything from hardware selection to crucial software configurations, empowering you to harness the full potential of OctoPrint and your Tevo Tarantula.
Selecting the Right Hardware for OctoPrint
The foundation of a successful OctoPrint setup is the hardware. The Raspberry Pi, a small, affordable computer, acts as the brain of your OctoPrint system. The choice of Raspberry Pi model and its supporting components are crucial for performance and reliability. A well-chosen setup will minimize the likelihood of printing errors and ensure that you can control and monitor your Tevo Tarantula without any lag or interruption. Consider the processing power, memory, and connectivity options of different Raspberry Pi models, such as the Raspberry Pi 3B+ or the more powerful Raspberry Pi 4. The performance of your setup directly correlates with the components you choose.
Choosing the Best Raspberry Pi Model

For optimal performance, the Raspberry Pi 4 Model B is highly recommended. It offers significantly more processing power and RAM compared to earlier models, which translates to a smoother and more responsive OctoPrint experience. However, the Raspberry Pi 3B+ can still be a viable option if budget is a concern. Consider the RAM capacity; 2GB or 4GB of RAM is preferable for multitasking and running plugins. Make sure to compare the specifications and consider your current 3D printing needs and future expansions.
SD Card Selection and Formatting
The SD card is where the operating system and OctoPrint are stored. A high-quality, fast SD card is essential for reliable operation. Look for a card with a Class 10 rating or higher, and consider cards specifically designed for intensive read/write cycles. Formatting the SD card correctly is also important. Use the SD Card Association’s formatter to format the card, ensuring a clean and compatible setup. A corrupted SD card can lead to data loss and operational errors, therefore choosing a reliable card and formatting it appropriately will prevent many potential issues.
Power Supply Considerations
A stable and reliable power supply is non-negotiable. The Raspberry Pi requires a dedicated power supply that can deliver the correct voltage and amperage. A weak or unreliable power supply can cause your Raspberry Pi to crash or reboot, interrupting your prints. Always use a power supply that meets the Raspberry Pi’s specifications, typically 5V and at least 2.5A for the Raspberry Pi 3B+ and 3A for the Raspberry Pi 4. It is extremely important to ensure the stability of the power supply to prevent any interruption in the printing process.
Installing OctoPrint on Raspberry Pi

Now that you have the hardware setup, it is time to install the OctoPrint software on your Raspberry Pi. This involves a few straightforward steps, from flashing the OctoPrint image to initial configuration. Ensure that all of the steps are followed carefully to avoid any issues during the process. This process is very easy to do by using the dedicated flashing software and following the instructions that are available. With the software installed you’ll be able to connect to your Tevo Tarantula.
Flashing the OctoPrint Image
The first step is to download the OctoPrint image from the official OctoPrint website or any of the official mirrored resources. Use a program like Raspberry Pi Imager or Etcher to write the image to your SD card. This process overwrites the SD card with the OctoPrint operating system. Make sure to select the correct SD card drive before flashing to prevent data loss. This also includes selecting the correct image file when flashing the software to avoid errors during the process.
Initial Raspberry Pi Configuration
After flashing the image, insert the SD card into your Raspberry Pi and boot it up. You may need to configure the Raspberry Pi’s network settings, such as Wi-Fi credentials, to connect to your network. This can often be done via a text file on the SD card before booting. You will also need to determine the Raspberry Pi’s IP address on your network, which you will need to access OctoPrint via a web browser. The initial setup includes setting a password for the OctoPrint instance and other basic system settings.
Accessing OctoPrint via Web Interface

Once the Raspberry Pi is configured and connected to your network, open a web browser and enter the Raspberry Pi’s IP address. You should see the OctoPrint web interface, ready for further configuration. If you encounter any issues, double-check your network configuration and ensure that the Raspberry Pi and your computer are on the same network. You may also need to clear your browser cache or try a different browser.
Configuring Tevo Tarantula in OctoPrint
The next step is to configure OctoPrint to communicate with your Tevo Tarantula 3D printer. This involves specifying the serial port, baud rate, and printer profile. These settings will allow OctoPrint to send commands to your printer and receive data back, enabling remote control and monitoring. Correct configuration is critical for successful printing, and mistakes in these settings can lead to connection errors and failed prints.
Connecting and Calibrating Your 3D Printer
First, connect your Tevo Tarantula to the Raspberry Pi via a USB cable. In OctoPrint, go to the ‘Connection’ tab and select the correct serial port and baud rate for your printer. The baud rate is often 250000 for Tevo Tarantula. After connecting, test the connection by sending a command, such as moving the print head. Calibrating your printer is crucial. This involves leveling the print bed and ensuring the nozzle is at the correct height. Proper calibration will prevent adhesion issues, and ensure accurate dimensions.
Troubleshooting Common Connectivity Issues

If you encounter connectivity issues, such as OctoPrint failing to connect to your printer, there are a few things to check. Ensure the USB cable is securely connected. Check that the serial port and baud rate settings are correct. Sometimes the USB port on the Raspberry Pi may not provide enough power; if this is the case, try using a powered USB hub. Additionally, ensure the printer’s firmware is compatible with OctoPrint.
Optimizing Your OctoPrint Setup
Once the initial setup is complete, you can begin optimizing your OctoPrint setup for enhanced performance and convenience. Optimizing your setup can improve your printing experience and efficiency. This includes installing essential plugins, configuring a webcam for remote monitoring, and fine-tuning your print settings. Taking the time to customize the software for your unique printing needs can greatly increase your satisfaction.
Installing Essential Plugins
OctoPrint supports a wide range of plugins that extend its functionality. Install plugins such as ‘PrintTimeGenius’ for more accurate print time estimations, ‘OctoPrint Anywhere’ for remote access, and ‘DisplayLayerProgress’ for monitoring print progress. These plugins add extra features that are unavailable without plugins and allow you to do much more with your printer. There are plenty of other plugins available and you can search for the plugins that best meet your needs.
Configuring Webcam for Remote Monitoring

Setting up a webcam allows you to monitor your prints remotely. Most webcams are compatible with OctoPrint, although it is important to configure the stream settings for optimal performance. Place the webcam to have a clear view of your print bed, and adjust the resolution and frame rate in OctoPrint’s settings. The ability to monitor your prints remotely provides peace of mind and allows you to quickly address any issues that may arise during printing. This can save you time, filament, and potential printer damage.
Fine-tuning Print Settings for Tevo Tarantula
OctoPrint allows you to control and modify your 3D printer’s settings. Fine-tune your print settings within OctoPrint for optimal results. Adjust the print speed, temperature, and retraction settings based on your filament and print requirements. Experiment with different settings to achieve the best print quality for your specific models and materials. The ability to control your printer’s settings remotely gives you more freedom and the ability to correct issues easily.
Securing Your OctoPrint Instance
Securing your OctoPrint instance is important to prevent unauthorized access. This includes changing the default password, implementing SSL encryption, and regularly backing up your data. Securing your printer is a critical step to protect your printer and prevent any potential risks. These steps will protect your printer from unauthorized access.
Changing the Default Password

The default username and password for OctoPrint are easily accessible. Change the default password immediately after setting up OctoPrint. Use a strong, unique password to prevent unauthorized access to your printer. This is the first and most essential step in securing your OctoPrint installation.
Implementing SSL Encryption
Implementing SSL encryption secures the communication between your computer and OctoPrint. Use a service like Let’s Encrypt to obtain a free SSL certificate and configure your web server to use HTTPS. This encrypts the data transmitted, protecting your printer from eavesdropping. This is an extra layer of security that is useful to protect your data.
Regular Backups and Maintenance
Regularly back up your OctoPrint configuration, including your settings, profiles, and plugins. This ensures you can restore your setup if anything goes wrong. Keep OctoPrint and its plugins updated to the latest versions to benefit from security patches and new features. Regular maintenance will help keep your system running reliably.
In conclusion, setting up OctoPrint for your Tevo Tarantula involves several key steps. By selecting the right hardware, installing and configuring OctoPrint, and optimizing your setup, you can greatly enhance your 3D printing experience. Implementing these top 5 tips will help you control your 3D printer remotely, monitor prints, and troubleshoot issues more effectively. Embrace the power of OctoPrint to unlock the full potential of your Tevo Tarantula, and enjoy the world of convenient and efficient 3D printing. By following the guidelines, your OctoPrint setup will be a success.